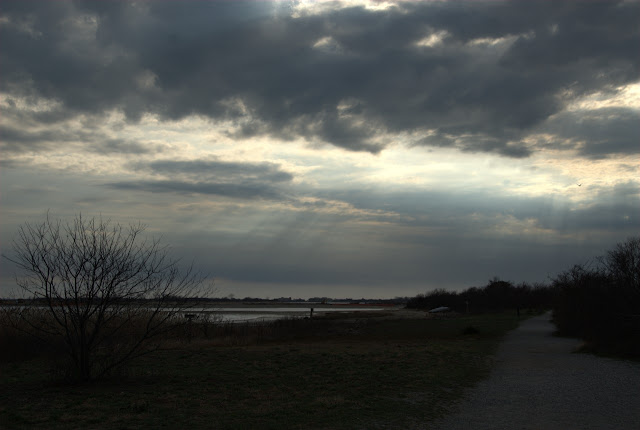
So I snapped off a few pictures without thinking. When I viewed the images on my computer, they looked pretty sad. The sky was correctly exposed, but everything else was drab and dreary. This was not at all how I remembered the scene, so I started thinking about how I might restore the original "feel" in the image.
There are a number of tools that can help you recover an underexposed image - Lucis Art, Topaz Adjust, the built-in tone mapping available in Photoshop - but I decided to use Photomatix Pro - mainly because I like the quality of the output and the relative ease with which I can get those results.
For a full description on how to use Photomatix Pro, look at my blogpost here. The process with a single image is similar to the one you would follow for a multiple image HDR after you merged the images into a single image. Basically you have two main options - Tonemapping and Exposure Fusion. The Tonemapping selection has two choices - Details Enhancer and Tone Compressor. I find the following workflow useful:
- After loading the image, select a preset that gets you closest to the "look" you are trying to achieve.
- Use "Strength" at close to 100% to control how contrast will be affected by the subsequent adjustments.
- Set white point, black point, saturation and gamma to please your eye.
- Start making adjustments using smoothing, micro smoothing, contrast, microcontrast, luminosity etc - until you have gotten closer to your goal.
- If you end up with halos, use highlight smoothing to remove them.
- Save and open the image in Photoshop - make whatever cropping, tone, contrast, color balance, sharpening and noise reduction adjustments you typically make. At this point you should be done.


No comments:
Post a Comment